Pages

Showing posts with label christmas. Show all posts

Wednesday, January 26, 2011

Popcorn Sleeves for Christmas

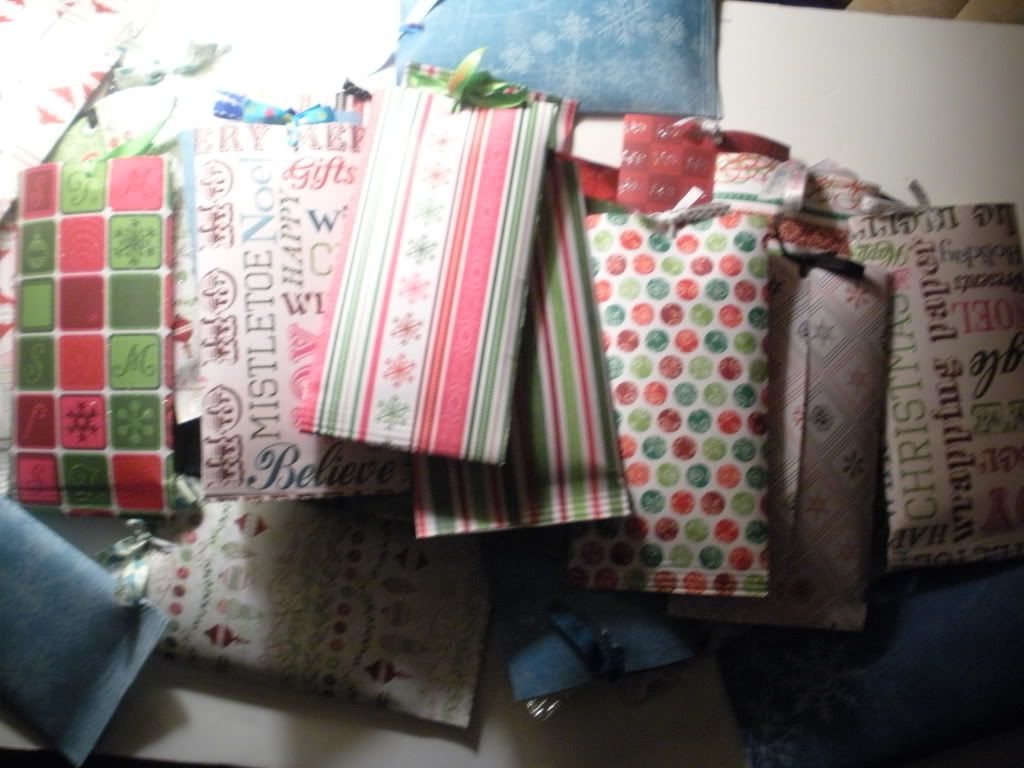
I asked my DD what she wanted to give her class for Christmas and she said popcorn because they really liked the Halloween bag that they got.  So I went online to look for some ideas for popcorn and found a tutorial on cocoa sleeves.  Thought that was a really good idea to use for popcorn but then I found another tutorial on popcorn sleeves along with the idea to give a list of Christmas specials on TV for a movie night during the holidays.  Well the measurements listed for the popcorn sleeves I found didn't work too well because I used the regular popcorn bags and not the mini so I had to figure out the proper size to make the sleeves but I did use the ribbon pulley and list of Christmas specials.  I cannot remember where I found the idea, I will have to look at my computer and see if I saved them so I can give proper credit to the person who gave the tutorial.  I made 30 of these sleeves so that she could give them to her teachers as well.  We also made her teachers the glitter ornaments that are floating around in blogland, which I forgot to take a picture of.  This was a great project because I used Christmas paper and ribbon from my stash and printed the Christmas TV list off the computer so really only had to buy a big box of popcorn from Sam's Club so it was a fairly cheap gift to make which was nice considering how many I had to make.  I think they turned our really cute and the kids really loved them and was so happy to have the list of Christmas specials that was on TV for the week of Christmas.


For DD's teacher, I bought a stocking and filled it with various school supplies and Way to Go stickers along with a gift card to Starbucks.  For her dance, gymnastic and pompom teachers, I bought a Subway gift card and made them the glitter ornaments as well.

Sunday, December 5, 2010

Christmas 2 Day Blog Hop and Candy - Day 2


Sorry this is up so late.  I had it scheduled to post this morning but for some reason it did not work.  I just got on to do the hop myself when I noticed mine was not up.

If you are here for the Christmas Blog Hop then you are in the right place! If you are just finding us please be sure to visit Josy's Blog to start at the beginning of the hop. You should have arrived from Alex's Blog and after my blog you will be going to Yolanda's Blog.

My project today is another Christmas present.For today's project I made a mini album for one of my Christmas presents. I am not saying whose present it is in case they read this.

Here are the supplies I gathered together to use but did not use everything

First I started with a round tin that had coasters with it, I bought it at my LSS on clearance for $1.  Then I took the coaster covered each side of each one with coordinating pp from DCWV Christmas paper from last year. I placed the coaster on the back of the paper and traced it and cut them out by hand. I took my black paint dauber and covered all the edges and slightly onto the flat part of the coaster before I taped my pp on. Then I applied Modge Podge over everything to seal the edges of the paper.


I decorated my pages with various embellishments. I tried to only glue the embellishments on the outer edges of the circle so that a photo could be slipped in behind them.


I am offering blog candy for the hop and because it is my blogaversary too. I have the Cricut cartridge Country Life and the Scrapbooking with Cricut book.  To get in with a chance to win this, please be a follower, post this in your sidebar, or if you do not have a blog, do a post about it somewhere and give me the link in your comment and leave a comment by December 18th. If you want an extra chance, visit my post from the blog hop yesterday and leave a comment as well and that will give you a second entry. I will be drawing the winner from the comments on this post and on yesterday's post. I will draw a winner on December 19th, my hubby's birthday.

Here is the order of the hop:
1. Josy http://josyscraftcorner.blogspot.com/
2. TheScrapbookGirl http://www.cricutconfessions.com/
3. 1squirrelygirl http://www.nutsaboutcuts.com/
4. Poohbearbaby http://www.looneybugdesigns.com/
5. Mandy http://mandys-scrap.blogspot.com/
6. Scrapperbecka http://creationswithbecka.blogspot.com/
7. AthenaHarris1 http://www.pixellaynestudio.blogspot.com/
8. Shawneestamper http://www.paperfrolic.blogspot.com/
9. ScrappidyAshy http://www.scrappidyashy.blogspot.com/
10. Bobbi's Hobbies http://bobbishobbies.blogspot.com/ (You are here)
11. Craftyscentiments http://www.craftyscentiments.com/
12. Bits-N-pieces http://bitz-n-pieces89.blogspot.com/
13. Kreimers http://fantabulouslypink.blogspot.com/
14. Marcjo♫♪ http://stampcutcreate.blogspot.com/
Saturday, December 4, 2010

Christmas 2 Day Blog Hop with Candy - Day 1

If you are here for the Christmas Blog Hop then you are in the right place! If you are just finding us please be sure to visit Josy's Blog to start at the beginning of the hop. You should have arrived from Alex's Blog and after my blog you will be going to Yolanda's Blog.  This is a two day hop so be sure to come back and hop for more ideas tomorrow.

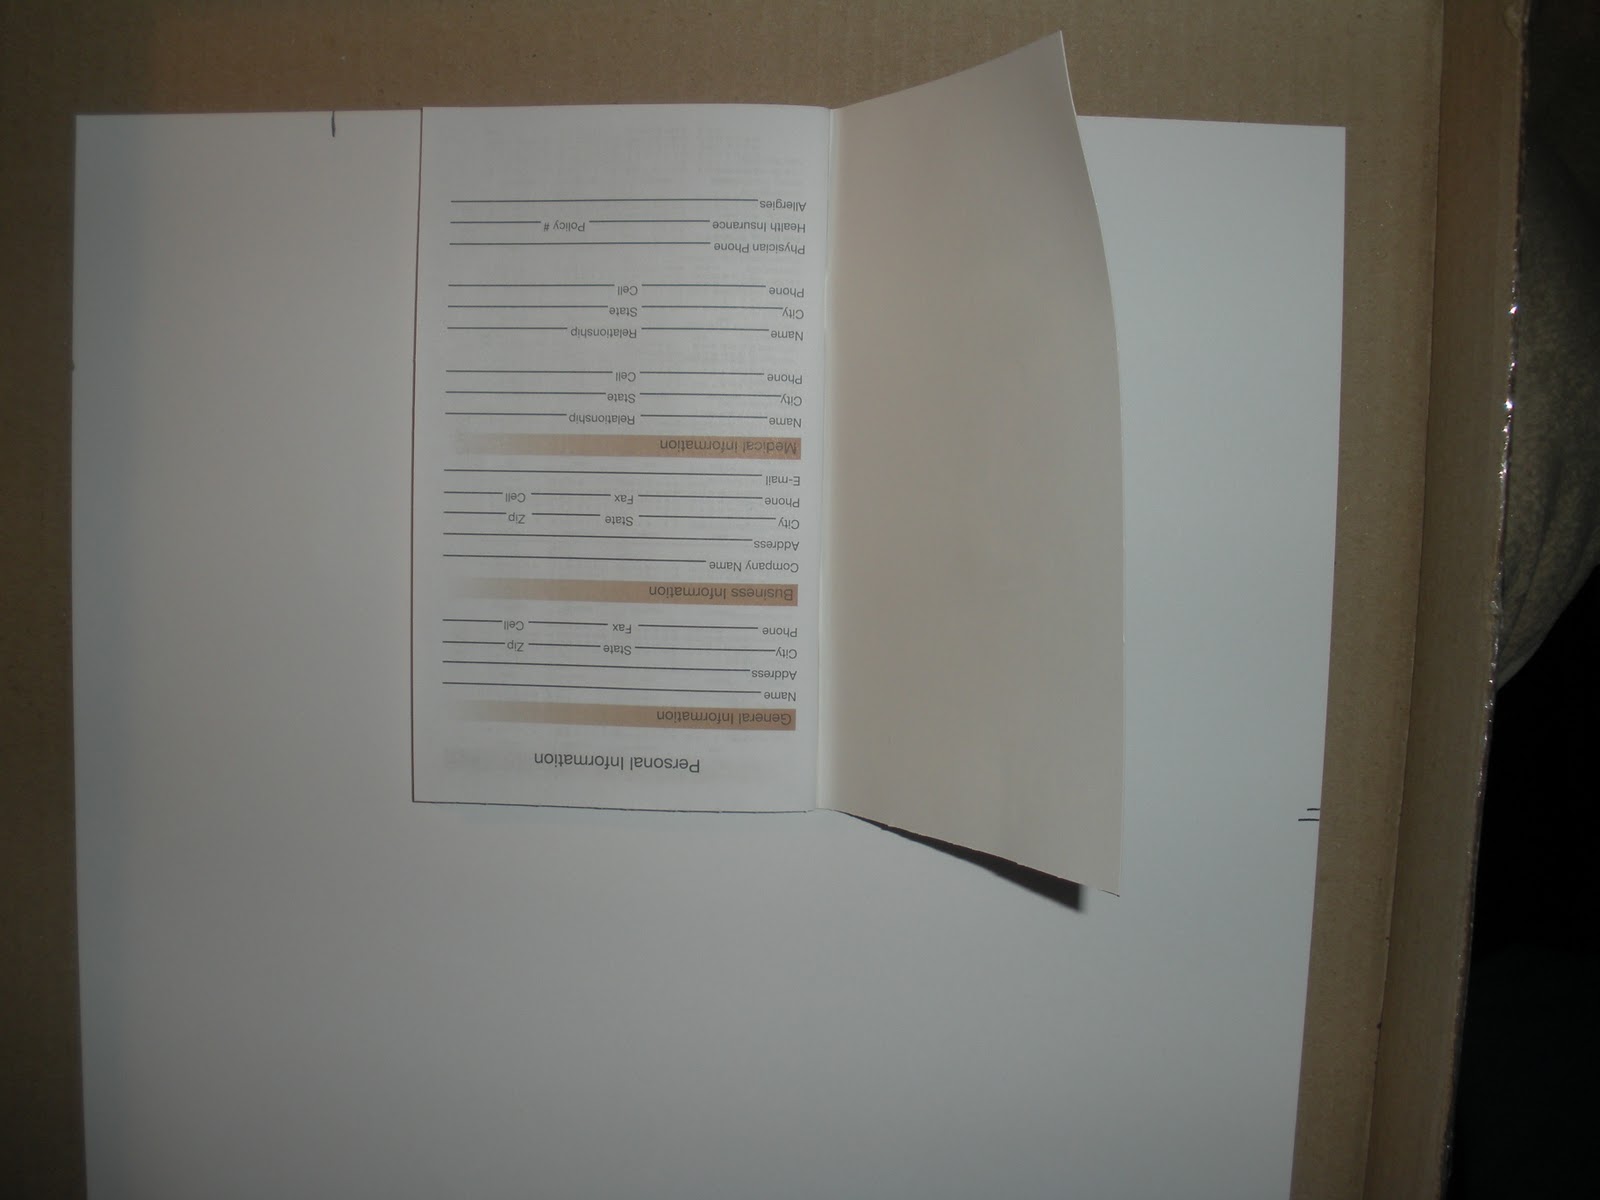
For today's project I am altering a pocket calendar.  I like to give these as teacher's gifts and little stocking stuffer type of Christmas gifts.  I buy my pocket calendars at M's or J's for $1 and then personalize them for the person receiving it.  You will need the following supplies to start.

First I start by laying my calendar on the back of the pp to measure where I need to cut.

After marking the cut lines, I used my straight trimmer to cut my cover.  Then I put tape on one of the inside flaps of my calendar and fold around the edge, then I lay my calendar flat and put tape near both edges, the middle of each side and the spine.  Then start from one side and smooth it over to the other edge.  Then I put tape on the other inside flap and folder it around that edge.

This is where the fun comes in, I use my Cricut, ribbon, flowers, iRock and stickles to decorate each one to personalize it and add their name.


I did add the person's name to the front but I do not want to show that here in case they read this.  There are several people I know that love frogs so they will not know who it is for until Christmas:)

I am offering blog candy for the hop and because it is my blogaversary too.  I have the Cricut cartridge NIP Country Life and the Scrapbooking with Cricut book.  To get in with a chance to win this, please be a follower, post this in your sidebar, or if you do not have a blog, do a post about it somewhere and give me the link in your comment and leave a comment by December 18th.  If you want an extra chance, come back tomorrow for the hop and leave a comment on that post as well and that will give you a second entry.  I will be drawing the winner from the comments on this post and on tomorrow's post.  I will draw a winner on December 19th, my hubby's birthday.


Hope you enjoyed the hop and don't forget to come back tomorrow for another project and a 2nd chance at the blog candy.

Here is the order of the hop:
 
1. Josy http://josyscraftcorner.blogspot.com/
2. TheScrapbookGirl http://www.cricutconfessions.com/
3. 1squirrelygirl http://www.nutsaboutcuts.com/
4. Poohbearbaby http://www.looneybugdesigns.com/
5. Mandy http://mandys-scrap.blogspot.com/
6. Scrapperbecka http://creationswithbecka.blogspot.com/  
7. AthenaHarris1 http://www.pixellaynestudio.blogspot.com/
8. Shawneestamper http://www.paperfrolic.blogspot.com/
9. ScrappidyAshy http://www.scrappidyashy.blogspot.com/
10. Bobbi's Hobbies http://bobbishobbies.blogspot.com/  (You are here)
11. Craftyscentiments http://www.craftyscentiments.com/
12. Bits-N-pieces http://bitz-n-pieces89.blogspot.com/
13. Kreimers http://fantabulouslypink.blogspot.com/
14. Marcjo♫♪ http://stampcutcreate.blogspot.com/

Friday, September 10, 2010

Christmas Cards

Here are some cards I made for a Christmas card swap that had several groups with different themes over on the Cricut MB. This was the Kids card group. I used the Mickey Santa die cut for the Cuttlebug on blue core black magic paper which was embossed with the tiny heart Cuttlebug folder which I turned to make it look like snow flakes after it was sanded.
This one was the Let It Snow. I used my Just Rite snowflake stamp, the snowflake paper was from a holiday stack I picked up at Joann's, I think it was DCWV but not positive and kraft cardstock.


This next one was the non-traditional, I decided to use browns and blues as my colors which I think are non-traditional Christmas colors. I used the Lacey Label cart for the circles and "Joy" cut on kraft cardstock.


This one was the Snowman group. I used my Just Right snowman and snowwoman stamps along with a mistletoe sentiment. This Merry Christmas paper is from the same stack as the snowflake paper above again with kraft cardstock.


This last one was for the Vintage group. I used toppers from Flower Soft along with my Vintage Christmas Flower Soft and made two different cards. One said Holly & Ivy and one said Noel. This is my first experience with Flower Soft and I really love how it turned out. This is probably a 5X7 card whereas all the others are A2 size.


I am so excited and cannot wait to get the other cards back from this swap.  After this swap, I have almost 50 of my cards made for Christmas because I made extras of the ones I made and kept them. 

Friday, February 5, 2010

Cards

Here are some Christmas cards aimed towards kids I made recently:


Monday, January 25, 2010

Some Christmas Presents

I know it has been a while since Christmas but I finally downloaded my pictures and wanted to share a few things I made. I made several of these Snowman Soup envelopes by cutting the mug from the Winter Woodland or JOTS cart (can't remember which one), made the chocolate spoon with the winter sprinkle chocolate melts onto a plastic white spoon and put some mini marshmallows in the baggie too. How can you have hot chocolate without marshmallows? I put them with the calendars (pic below) for some DD's teachers.


I made 18 of these for DD's kindergarten class, isn't the mouse cute. I got the Gypsy file off of Cindy at Crazy for Crafting. You should check out her blog has a lot of great projects over there and she likes to share her files. I inked some of the edges and made the white detail with a Signo white gel pen.
This is a note card set I made for DD's kindergarten teacher. I picked up the black and white checked notecards out of Target's dollar bin and then cut and pieced together all of the various Hello Kitty pieces. Added some background paper, bling, stickles (not showing up in pics), Hello Kitty ribbon (also from Target Dollar bins) and other die cuts to different cards to embellish them.

Here is the box I made with my Ultimate Crafter's Companion for the notecards to go in and then tied it with a Hello Kitty ribbon. I put school supplies in a 2 liter bottle . . . thanks to Scrapalette on the Cricut MB. Go here: http://www.cricut.com/messageboard/tm.aspx?m=4633525 . . . wrapped some pp around the middle of the bottle to hide the secret door, then cut the cute snowman from the Hello Kitty Greetings cart and added that and a chipboard from the DCWV Christmas set to the pp.

For my DD's teacher as well, she loves Hello Kitty if you can't tell, I made this pocket calendar. The HK cheerleader, is from the HK Greetings cart as well and, is in the school colors and I put her name on it as well. I also made 11 other calendars for DD's other teachers including music, art, gym, library, various dance teachers, sunday school teacher, etc. with various pp and embellies from my stash. I did not take a picture of all the other calendars as I wrapped them before I thought about it.

My DD and I made the binder clips to hold a picture of her with her baby brother as gifts for the aunts and uncles but I forgot to take a picture of them. I am in the process of making several cards and gifts so I will upload pics of them when I am done.
TFL